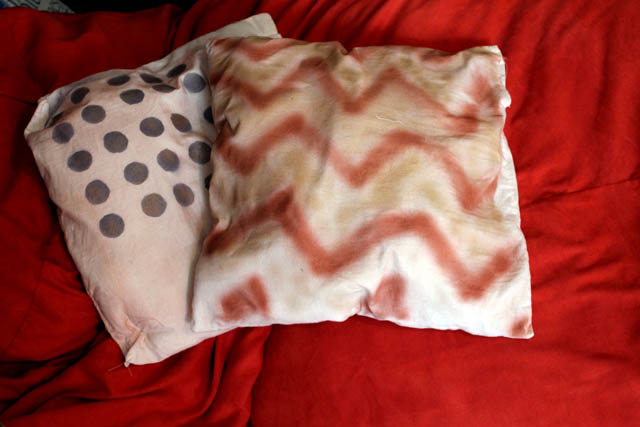
Lately, I've been wanting to try new art techniques and new crafts, so here's my first venture into fabric airbrushing. Katie and I did home decor pillows, and on her blog, you can find a cool tutorial on airburshing socks today. I chose to go with somewhat neutral colors for these cute and funky pillows, I think the pale metallic bronze, silver, and gold would match lots of other fabric combinations!
We
found the ColorArtz Airbrush kit on clearance at Joanns for only $2.97 so we jumped on it! Even online it is still a really great price! Find it on the Color Artz store here.
1. Following the instructions on the box, Load your color into your airbrush.
2. For this project you will need a light colored pillow.
3. Holding your airbrush over your pillow, spray a zig zag design.
4. Switching out colors on your air brush, spray color between your zigzags/chevrons.
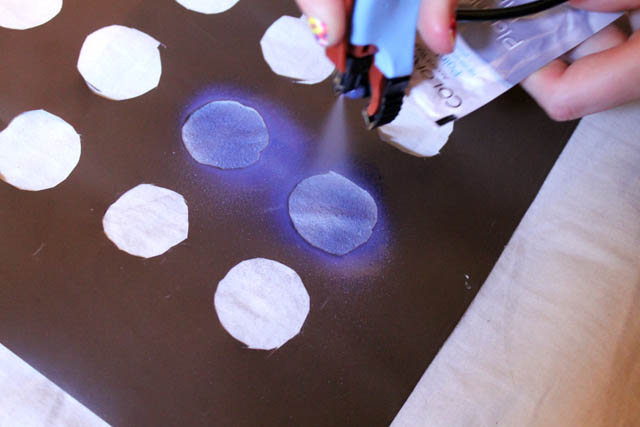
For the polka dot pillow:
1. Trace circles onto the back of a piece of contact paper. Cut the circles out. This will be your template.
2. Stick it to your pillow. You can do polka dots on just part of your pillow (like we did) or cover the entire thing with polka dots.
3. Holding your airbrush over the pillow, spray color into the polka dots.
Click here to see what Katie did with the Air Brush! Another fabulous DIY!
-Taylor


No comments:
Post a Comment