Showing posts with label apartment design. Show all posts

Monday, February 4, 2013

Recycled Message Vase DIY

I'm happy to share with you today a recycle-themed DIY. There are several photos of vases and jars similar to this going around the internet (but I cannot seem to track down the original source) but mine involves glitter (of course!). I'm recycling an old bottle in this tutorial and giving it a beautiful purpose. See the tutorial below!

Supplies: 
An old bottle
Hot glue gun
Gold Liquid Leaf paint (or any acrylic paint)
Gold Glitter
Glue Stick
Sponge paint brush

1. Using your hot glue gun, write out a word on the bottle. I chose the word "free."


Here's an up close shot of mine: be sure to make your letters with lots of glue (volume) so it stands out against the bottle. Don't forget to rub off the hot glue stringies!


2. Sponge on gold leaf paint. It's really important to use a sponge brush so that the paint doesn't create streaks up and down the bottle. It also covers the hot glue better.


Here's a photo of the finished paint job: I really like the antique-y look gold leaf paint gives it.


3. Rub your glue stick over the word that you've glued on. Be sure to get glue only on your letters!


4. Sprinkle glitter over the glue. Using a paintbrush, brush away excess glitter. Let dry.


5. Fill with flowers and display!


Pin It!

Wednesday, January 30, 2013

Living Room Makeover


I'm so excited to share pictures of my living room makeover. I painted my couch mint green (one of my favorite colors!!) sewed some new pillows, made new wall art, and incorporated some of previous craft projects. Unfortunately...I managed to delete my "before" pictures. The only one I have to share with you is a photo of my cat asleep on my couch, just so you can see how wild (awful) the cover for this sofa really was. 

Really crazy, huh? Anyway, there were just too many colors in that pattern, it was so overwhelming. I gave my living room a pastel-themed makeover, (pastels are super in right now, aren't they?) mainly coral and mint, gold and silver. See the pics below.


I am in love with the minty-ness of my couch. Plus, it's now much more durable thanks to the paint. In case you're wondering, I mixed regular interior semi-gloss paint with textile medium, which turns regular paint into "fabric paint." It's going to be super easy to keep clean, dirt just wipes right off. I also think that with a solid colored couch, it will be much easier to change trends/designs now. FYI, this is an IKEA Klippan Sofa. 

See how I did the chair restyle here. Want to make your own tribal baskets? See the tutorial here. Confetti art? Tutorial here. Also, keep an eye out for a tutorial on how to make your own geometric art soon!
Pin It!

Tuesday, January 22, 2013

Confetti Art DIY


Supplies:
Canvas of some sort (I actually used a recycled foam board)
Adhesive metallic paper or vinyl (I used both!)
Adhesive glitter paper or vinyl


Notes: I used my Cricut Expression to cut perfectly uniform dots. If you don't have a die-cutting machine, you could certainly use a circle punch. Also, if your paper or is not adhesive, you could attach each circle with permanent, double-sided tape. 

Pin It!

Monday, January 21, 2013

Hand Painted Tribal Baskets DIY

I was super excited to do this project from the moment I was inspired by these at the Marion House Book. These are part of my upcoming living room makeover so I dashed over to my local thrift store to pick up some old baskets that would be perfect for a restyle. 


Supplies:
Acrylic Paints
Brushes
Woven Baskets

 1. Choose baskets with fairly solid weaving. If you have too many holes or empty spaces, your paint will leak and/or get very messy.
 2. Choose a color scheme. I l-o-v-e pale mint green, so I paired it with black and white. If you are doing a collection of baskets, they work best when you stick with the same color scheme throughout different patterns. 
3. Choose your patterns. I liked the simplicity of these Native American designs (easy to freehand paint!). I used the "Little Goose" and the "Big Foot" designs.
 4. The key to making these baskets is to paint in layers. Add your background paint first, then build up layers of details. Start simple and paint on the accents last. 

 Want to see more pictures? Here are some photos of how I painted my baskets step-by-step. 

Pin It!

Thursday, January 17, 2013

Painted Polka Dots Chair Restyle


This chair is part of my living room makeover. It's an IKEA Poang chair that has been claimed for cat naps by my kitten Sisko. It started out black and I simply painted white polka dots onto it with acrylic paint and a pencil eraser. Note to all who craft with cats: This is a really fascinating project to cats and was interrupted by a flying kitten who landed in the white paint and attempted to leave white paw prints all of my apartment..so be careful :)


Anyway, I just wanted to share this with you, and will feature pictures of the whole living room soon! My inspiration for this project was to create an "ombre of polka dots" and I think I succeeded!
-Taylor
Pin It!

Friday, January 11, 2013

Pintastic This Week

The theme of this week is...bright and happy colors! I've seen so many beautiful colors on Pinterest this week, so I thought, why not make that the theme this week? Some of these DIYs are from a while ago, but the great thing about Pinterest is that projects form the past resurface pretty often! Enjoy.


Pin It!

Tuesday, January 8, 2013

DIY Jewelry Organizer Wall Display


Supplies Needed:
3 small unfinished wooden frames
3 sheets of glittered scrapbook paper
bits of ribbons and string
Acrylic paint OR Liquid Leaf One-Step Gold Paint (this is what I used)
Hot glue, scissors, etc

1. Trace glitter paper to fit inside the frames, however, BE SURE to cut at least1/8th of an inch outside of your traced shape to have enough room to glue the paper into your frame.
2. Paint frames whatever color you like.
3. Glue ribbons and strings of various widths across the papers. Glue only at each end of the ribbons, not all the way across.
4. Adhere to frames with hot glue or double sided tape.
5. Hang on your wall and enjoy! I'm so thrilled with the way that these turned out <3 I have tons of feather earrings and my cat will take any chance he can to get at them. Hanging them on the wall keeps them safe plus it's super cute art! I love how accessible my jewelry is now and that I can just look at all of my choices all at once.


Note: This was my first time working with a gold leafing paint and I l-o-v-e-d it! I was so surprised by how much smoother and "gold-er" this was than just typical metallic gold acrylic paint. Be warned: it does contain copper and smells very strongly. Work in a ventilated area! I'm super excited to try
this paint on many other projects!


Pin It!

Friday, January 4, 2013

Pintastic Things This Week

This week's theme is....geometric patterns!! I'm brainstorming for a living room makeover and want to do some geometric art. Here are some things that inspire me and I hope they inspire you!

Geometric Embroidery Art by She Makes a Home

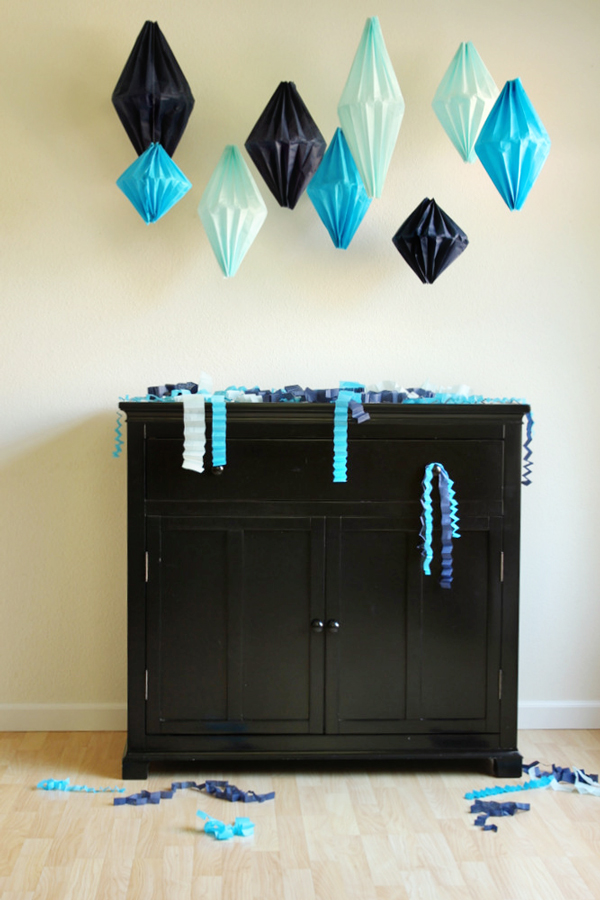
What a cool DIY for Geometric Paper Lanterns by Oh Happy Day!
LOVE this geometric necklace on the Modge Podge Rocks blog:
These Washi Tape geometric shapes featured on Apartment Diet

That's it for today's Pins! If you repin these, please use my links back to the original source, that way the artist gets credit! Thanks!
-Taylor


Pin It!

Saturday, December 15, 2012

Holiday Decorating: DIY Christmas Art Wall

Just wanted to share my art wall, holiday-style. The moose is always up, but it's been Rudolph-bombed :) I also included my snowman wreath, (click here for tutorial!), Katie's Christmas light art (tutorial), and a piece that I made with scrapbooking papers and pieces. 


I made this by piecing together blocks of red scrapbook papers onto a canvas, and then taking green strips and trimming the ends to look like ribbons. This was a super-fast project and could easily be translated onto holiday cards or gift tags. I think it's a pretty bold statement piece when combined with the other pieces on my art wall. All in all, I'm thrilled to have this display for Christmas!
Pin It!

Thursday, December 13, 2012

Christmas Light Art DIY

My sis Katie created this amazing mixed-media art canvas. I l-o-v-e the bright colors against a tone-on-tone white background. Below is an easy tutorial to make or gift one of your own! If you haven't already, throw some quick and festive art up on your walls for the holidays!
 Supplies: Patterned Paper, Scissors, Marker, Other Embellishments
 1. On the back of your patterned paper sketch out a Christmas light shape.
 2. Cut it out.
 3. From brown patterned paper, cut out a small rectangle and glue it to the top of the light.
 4. Cut as many as you like.
5. Glue them to a canvas, and embellish!

Pin It!